
This blog post was delayed because I picked up not one, not two – but three PC rebuilding projects at the same time.
Project 01: Amending Airflow
The first was a prebuilt desktop purchased from a retailer in Victoria. As expected, custom builds often skimp on certain components in order to be priced competitively. It needed some upgrades for better performance, most importantly in the cooling category.
CPU Cooler
First target: CPU cooler. I first replaced this with a Cooler Master Hyper H411R (which has a great form factor for smaller motherboard sizes) – but as this PC was using an ATX sized motherboard, it made more sense to put in a bigger cooler to make use of the space.

I settled on the Cooler Master Hyper 212 Turbo Red which sports two 160mm fans (with red leds) to go with the colour theme of the pc case.
Case Fans
The prebuilt came in a case with only one fan at the rear, no top airflow panels, with space for two fans at the front.
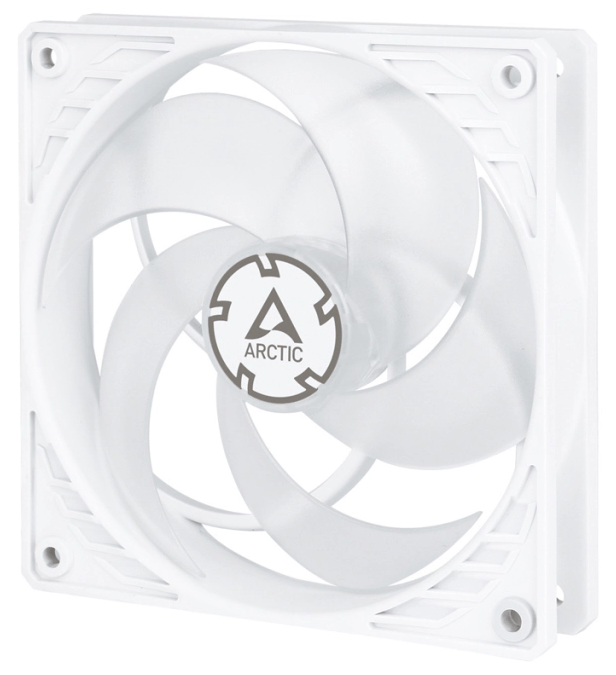
Upon reconsideration of the limited airflow options available (and the black/red aesthetic), I decided to upgrade all three fans to Arctic BioniX P120 (red).
As the CPU already had LEDs, I opted for non-RGB fans to keep lighting minimal.

With the PST cables I was able to daisy-chain the front two together and take out the fan splitter, assisting with cable management.
RAM
The prebuilt came with only two RAM slots on the motherboard and a single stick of DDR4 16GB ram. As performance is better with dual-channel memory compared to single-channel memory, I swapped in x2 8GB Vengeance LPX to use both slots.

Graphics Card Bracket
Final upgrade: a GPU bracket to reduce sagging on the graphics card (red of course).

Project 02: Rosy Resurrection
The oldest of the three PCs, Project 02 was an aging PC that needed some TLC (tender lovin’ care) and a fresh coat of paint.
While slight dated (AM3 chip, DDR3 memory, and a 7-year-old GPU), the power supply had been replaced and switched from HDD to SSD for main OS drive. Operationally it was in decent shape, so no major upgrades needed with this project.
TLC
Having researched how to deep clean individual PC components, I was excited to see how bad it was under the hood. It was bad. The GPU really, really needed some TLC.
The GPU heatsink appeared to have some type of white-ish substance on the outer edges of the fans. This was most likely aluminium hydroxide, a naturally occurring mineral that provides corrosion resistance. The most probable culprit: a high humidity environment.
Whatever it was, what mattered was how to clean it. I followed this exceptional deep cleaning guide by Greg Salazar, and created a time-lapse of the process on my IG:
The step I had the most difficulty with was removing the (very fragile!) thermal adhesive tape, which is stuck onto the most important components on the circuit board (the VRAM circuits).
Despite my -surgical- efforts, one of the strips ripped slightly (adhered firmly to a circuit). This tape is pretty hard to replace, so I lined it up the best I could for an even spread of contact.
Fresh Coat of Paint
Not to be taken literally, this step involved rebuilding the internals into a new PC case. The owner had an inclination for pink, so I picked up this Fantech tower:

Stock Fans: A(MP) Fantastic Fail
While the case itself was ‘sufficient’ with ample space for more fans, the stock case fans were…in a word, relics.
Instead of a 3-pin/4-pin connector, these fans used hideously outdated AMP connectors, which I hadn’t even seen in over a decade.

Current-gen fan connectors (PWM/PST) are able to control fan speed via the motherboard. Fans with AMP connectors only have two modes: on or off, meaning the fans run at max RPM.
Problem two: AMP plugs into the power supply and not the motherboard – and the existing (non-modular) power supply did not have any AMP connectors. As a workaround, I replaced the three front-facing fans with those from the old PC case.
Another workaround would be to purchase “Molex to 3-pin/4-pin connectors” (actually AMP and not Molex) to actually connect them to the motherboard. But since they’re stock fans…probably not.
For rear and top airflow, I installed x2 white “Arctic P12 PWM PST” fans for pink/white colour theme consistency.
RAM
The motherboard was running DDR3 RAM, which limited upgrade paths. DDR3 RAM would be the single upgrade that couldn’t be transferred to a new build.
(Eventually the CPU, graphics card, motherboard and RAM would need to replaced at the same time.)
The options weren’t looking good – DDR3 is nearly at its end-of-life cycle.
Naturally, it was lower in supply compared to the current DDR4 standard, and for Australian retailers it often cost more while providing lower performance. A DDR3 16GB Corsair Vengeance Pro (1600Mhz) kit costs over $150, but a DDR4 16GB Corsair Vengeance LPX (3200MHz) kit can be found for under $100.
On Aliexpress, I found a suitable alternative in the form of a Chinese brand I’d never heard of before (Juhor) – but with a 4.9 star average and almost 7,000 orders, I decided to roll the dice. Paying $80 instead of $152 was a no-brainer.
After installing the new RAM, I ran some benchmark tests and confirmed a respectable increase in performance.
Peripherals
The peripherals didn’t need to be replaced, but it felt appropriate to add more RGB. I replaced them with EVGA’s X17 Gaming Mouse and Z12 RGB Gaming Keyboard.
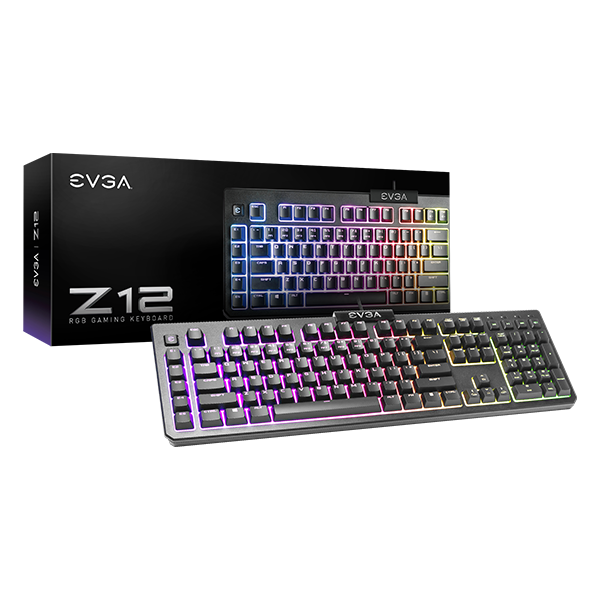
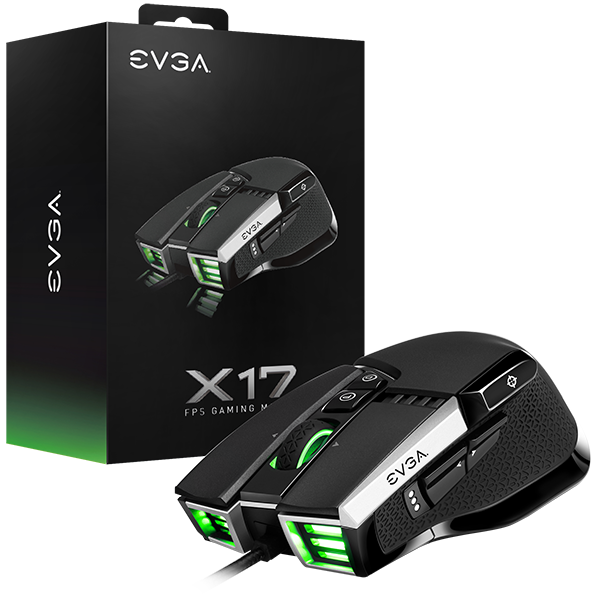
As keyboard and mouse are how we -the user- interface with the computer, a fresh set of peripherals really compliment the feeling of a freshly rebuilt PC.
Also, it’s not really a “gaming” setup unless you have gaming peripherals.
A New Battlestation
Not stopping at rebuilding the PC, I wanted to improve both function and aesthetic. The existing set-up was frugal but functional, with a folding table as the PC desk.
Measuring the wall length and dimensions of the new PC case to ensure it would fit on the desk, I shopped around for a new (appropriately sized, and bang for buck) wooden desk from Aliexpress.

While it was not made of high quality wood – it was E1MDF material, aka medium density fibreboard – it was sturdier and more visually appealing.
RGB Monitor Stand
Alright, alright. So maybe I did go a little overboard with the RGB.
The setup needed a monitor stand for better ergonomics, and a utilitarian-looking one would clash with the gamer theme I was going for.
With additional extras like x4 USB 2.0 ports, small tray and phone holder, the added cost was justified.

Graphics Card Bracket (pending)
Like Project 01, I chose this based on colour. Still waiting for this to arrive (another 7-9 days). The GPU flex was more severe, so I opted for a heavier duty bracket.

Project 03: Blacked Out
The third project was my very own desktop.
CPU Cooler
The AMD Wraith Stealth cooler was “okay”, with CPU temps running a little higher than preferred. With overclocking enabled (a given with AMD), beefier aftermarket cooler was needed.
After much deliberation and research, I settled on the be quiet! Dark Rock 4, a gigantic (but quiet) beast of a cooler. It was the largest Dark Rock cooler that would actually fit and not block off my RAM slots.
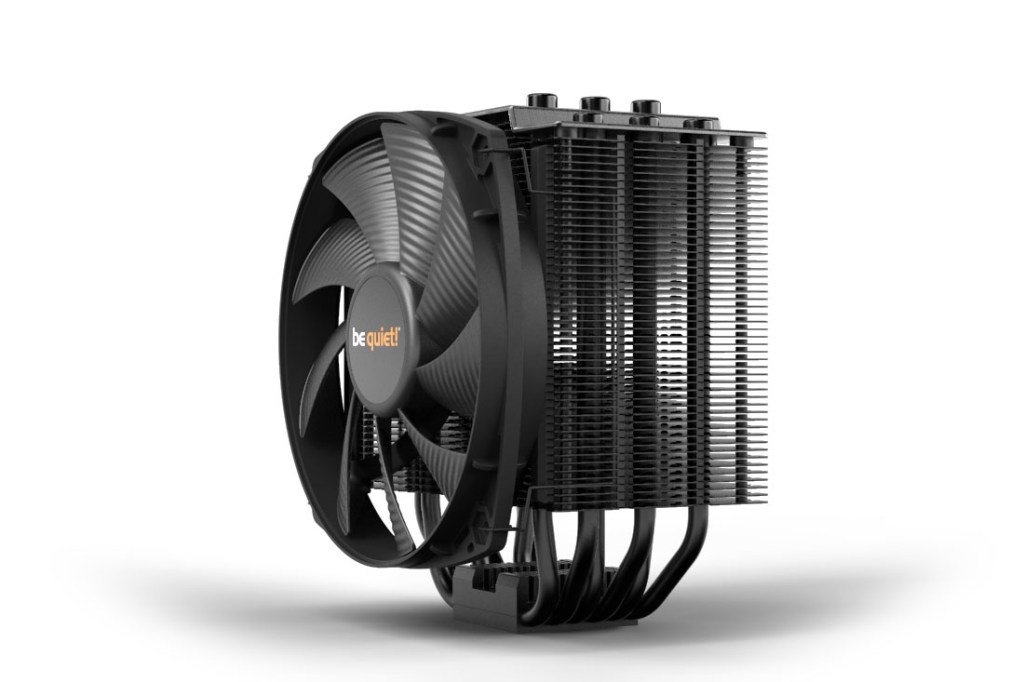
Measuring 16cm in height, this colossal cooler was visually minimalist, an excellent performer, and admittedly a little pricey. Then again, can you really put a price label on drip?
Towering majestically above everything else, it barely fits (with 2-3 mm clearance with the glass panel) and is an absolute beast. Without a doubt my favourite upgrade.
Case Fans
On the top airflow panel I had mounted just one spare fan. I ordered 3 of the same Arctic P12 PWM PST (but in black) – replacing the rear exhaust fan and adding two on the top airflow panel.
Graphics Card Bracket
I did choose an RGB GPU bracket this time as it was the same price as other heavy duty options from less reputable brands.

ARGB Controller
My previous motherboard (the B450M AORUS Elite) had fried in early Jan. As this desktop is my daily driver, I avoided downtime by installing a spare B550M motherboard I had (no RGB headers, and only one fan header). This required reinstalling my Windows OS.
The 3 front panel RGB fans could still light up – thanks to the included RGB controller, I could still switch between RGB lighting effect presets but wouldn’t be able to control it from a desktop application.
RGB was still secondary to a running PC, and I wasn’t about to buy another motherboard (~$150) just so my rear RGB fan would light up – especially when it meant I’d need to reinstall Windows yet again.
As a workaround, I looked into ARGB controllers to allow me to plug in the rear fan and GPU bracket.

First, I purchased Cooler Master’s ARGB Controller A1 – sure $35 was a bit pricey, but acceptable given the alternative. The fans were spinning, but now my front RGB fans no longer lit up.
I installed Cooler Master’s ARGB management software (“Master Plus”) to troubleshoot. It showed that the new controller was connected to the system, but without available settings.
Replacing the stock controller with the new one was already a pain (many, many cables), but I spent another hour tinkering with device drivers, uninstalling all USB devices (which then meant I had to reinstall it for my keyboard & mouse).
At this point I was fed up. I returned the controller, and was about to give up. But the bracket was RGB, and it seemed a waste to not use it (even if I couldn’t see it half the time).

I tried again, this time with another Cooler Master ARGB controller – this one was even more of a headache to cable manage. My luck was even worse this time, as it wasn’t even detected in the Master Plus app.
To avoid falling further into a sunk-cost fallacy, I decided to cut my losses and be content with just the front fans. I confirmed that the RGB on the GPU bracket did indeed work by plugging it into the stock controller, and left it for another day.
RAM (pending)
Seeing as the Aliexpress DDR3 RAM turned out alright, I rolled the dice again this time with a 16GB kit which has yet to arrive – this time from a brand called KLLISIRE. Let’s hope it doesnt KLLI my AHRD RDIVE.
This article is just under 2,000 words, so if you’re reading this – thank you.
